Summary
This article details steps for moving your Microsoft Forms to groups.
Important!: Microsoft Forms does not have an admin console for centralized management. If a form is created by an individual and not shared with a group, it becomes inaccessible when the owner leaves the organization. To prevent data loss, we strongly recommend sharing forms with a Microsoft 365 Group or transferring ownership before an employee’s departure.
How-To
Task: To move your form to a group.
If you've created a survey, quiz, or poll, you can easily move it to a group so everyone in your group becomes an owner of that form. Group co-authors can help add content, analyze responses, and share the form with others.
Note: Only Administrators can transfer the form of someone who has left the organization. Submit a request below if the owner of the form is no longer part of USNH.
Instructions
Step 1 - Open a browser and navigate to Microsoft Forms , sign in with your Microsoft 365 work or school account.
Or
Step 2 - Open a browser and navigate to Portal.Office.Com , select Forms from the navigation bar.
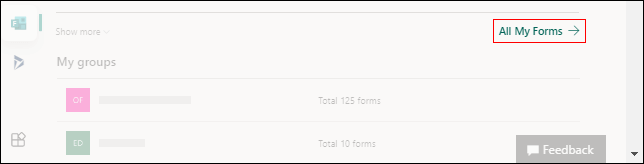
Step 3 - Scroll down to the bottom of your page and select All My Forms.
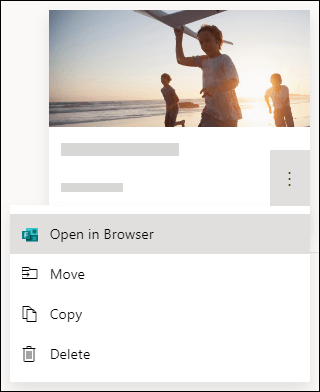
Step 4 - On the form you want to move, select the ellipse (...) and choose Move from the drop-down menu.
Note: You can only move the form if you're the owner of that form. You may not transfer the ownership of a form that is shared with you.
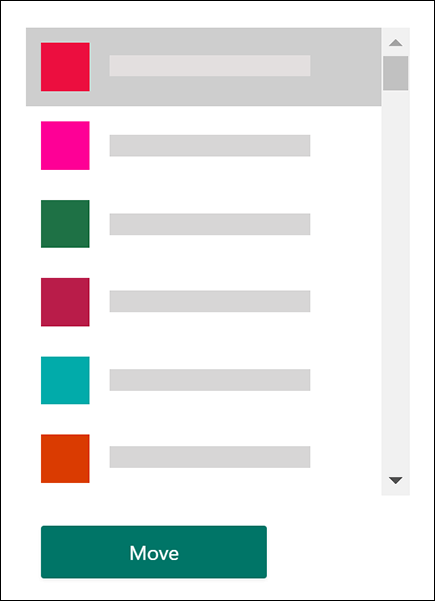
Step 5 - Choose the group you want to move your form to, and click Move.
Outcome
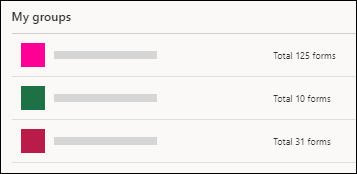
To see the form in the group for which you moved it to, select the back arrow on your My forms page, and then scroll down to the bottom of your page to see My groups. This list shows all the groups you belong to and the forms owned within those groups.
Further Readings
Forms: Creating and Sharing a Form
Need additional help?
For assistance concerning site creation, content sharing, file synchronization, or other common SharePoint, OneDrive, Teams, or Office app activities, we recommend our Microsoft 365 Learning sites:
Learn more about the great tools our Microsoft 365 Learning sites offer!
Visit the Technology Help Desk Support page to locate your local campus contact information or to submit an online technology support request. For password issues you must call or visit the Help Desk in person.